Linux Distro-hopping ─ A Learner's Intro
If you’re just starting out with Linux or have been using it for some time but are sort of afraid to go beyond what you know now, allow me to take you on a journey. Read on as I talk about the different stages a Linux distro-hopper driven by a desire to learn more about this system, may walk through.
Writing a post like this is an exercise in indulgence but I’ll try to make it worthwhile for those of you who want to operate Linux beyond what is required for day-to-day usage, but are not quite sure where to start.
DISCLAIMER: in no way am I implying that the distributions in the first (friendlier) tiers are “worse” than the rest. Think of these as steps in a ladder of user-friendliness and convenience rather than efficiency or clever system design. At a fundamental level, most Linux distros are about the same and are thus equally capable to accomplish any given task. Choosing one distro over another should be a matter of personal taste or professional requirements.
Without any further ado, let’s dive into the first tier.
The Middle of the Bell Curve
Recommended Distros: Ubuntu, KDE neon, Ubuntu MATE, elementaryOS, Solus
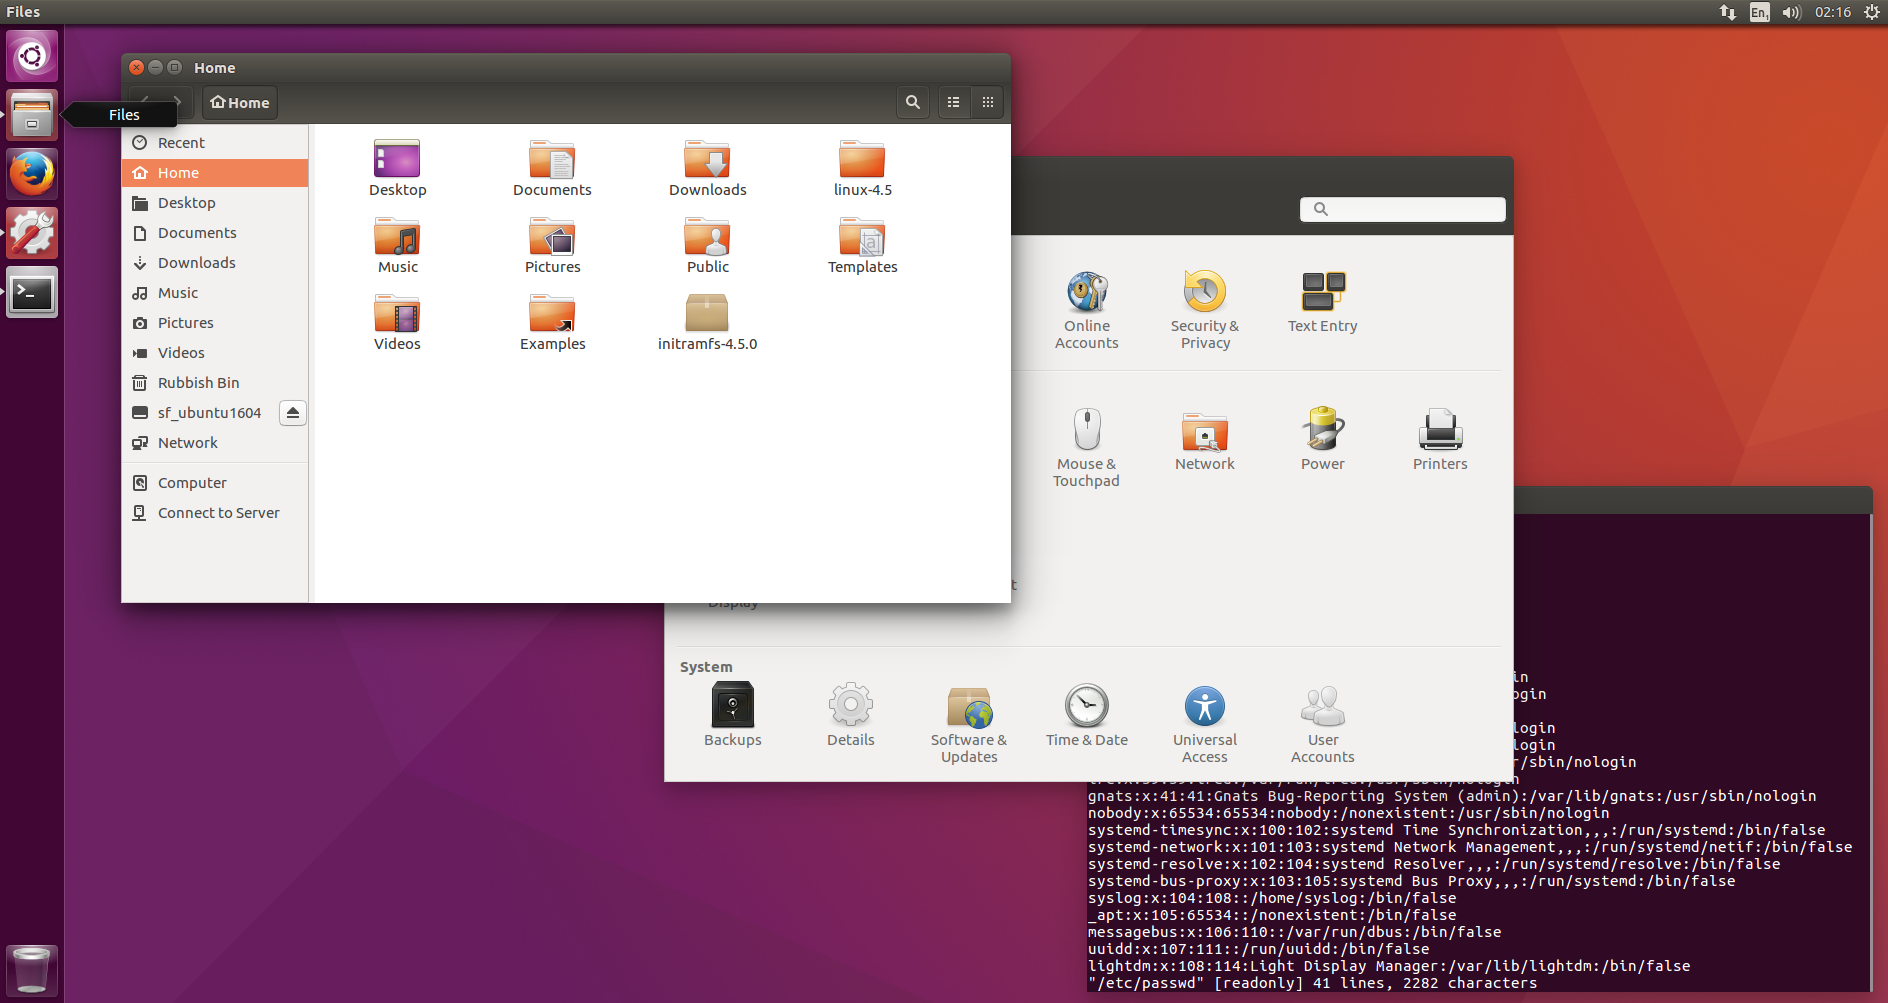
These distributions place a major emphasis on usability via intuitive GUIs, often purposely made similar to Windows or macOS to make them more appealing to users coming from these systems, and sane system defaults which make them useful and effective since minute 1 after installation. This makes them perfectly suitable both for Linux rookies and old-timers that just want to get the job done.
The entire process of installing, configuring, using and upgrading these systems is guided: GUI-baset settings panes as opposed to config files, helpful error dialogues, a streamlined, reliable system update process and a rich ecosystem of software hosted on browsable software centres, which are no different from Windows’ or macOS’s App Stores.
No knowledge of the Linux shell is required to use one of these distributions. In fact, it is perfectly feasible to use Ubuntu without even knowing how to launch a terminal. This is something I got away with when I was first getting into Linux.

All the reasons above make these distros the easiest to install when using Linux for the first time. But don’t be fooled: despite their efforts to facilitate the user experience to cater for the minimum common denominator, there’s still a sizeable amount of unknown elements that a newcomer will have to deal with when using Linux for the first time. After all, switching to Linux entails a major shift in ecosystems at the very least, not too different from the cognitive effort a switch from Windows to macOS or vice versa would involve. Migrating from Microsoft Office to LibreOffice, ditching Photoshop and Paint in favour of GIMP, Krita and Inkscape, this tier is all about getting a feel of Linux as an alternative to the digital bipartisanism championed by Apple and Microsoft while coming to grips with the idiosyncrasies of your new environment.
Linux, Plain and Simple
Recommended Distros: Debian, Fedora, openSUSE, Manjaro, Antergos
Let’s hop onto something else now. Not necessarily more difficult to use than Ubuntu & Co. but the userbase of distributions like these is comparatively more experienced in Linux administration than the users of the previous tier, so these systems are less afraid to defer some decisions to the user instead of choosing for them. Moreover, in some instances stability is pushed aside so as to stay on the bleeding edge, as is the case with Manjaro and Antergos, which piggyback off Arch’s rolling release updates. Others, such as Debian, make every decision from a stability standpoint, and thus follow very long release cycles, to the point non-security updates from upstream may take months or years to reach Debian users.
The user may be expected to troubleshoot their system occasionally (which is something inescapable, even with commercial OSs) but generally there should be more than enough support both from the distro and the community to allow them to resolve most issues without getting their hands too dirty.
A basic knowledge of the command line is encouraged to use these distributions to their full potential. As such, using them is a great excuse to learn how to use the shell and gradually stop relying on graphical interfaces.
The DIY Gang
Recommended Distros: Arch Linux, Slackware, Gentoo, Void
If you start toying with the idea of installing one of these distros it’s because you have a good enough command of Linux to readily meet your personal or work needs; you got the essentials down, feel comfortable using it, both from a GUI and from a terminal, and you’ve decided that that’s not enough anymore: you’re no longer interested in learning how you do stuff in Linux but in how Linux does it itself.
User freedom and modularity are not just emphasised at this point: they sit at the very centre of the design philosophy of distributions like Arch Linux, Gentoo or Void. The maintainers of these distributions won’t devote a single hour of their time to greet you with a nice, polished, desktop or installation wizard right after booting their distro from a LiveCD. All you’re going to get is a cold and inconspicuous shell inviting you to gaze into the entrails of your own computer. The rest is up to you.
Disk partitioning, filesystem installation and configuration, network configuration, locale, bootloader setup… none of this is to be taken for granted, as it will simply not be provided. Every single aspect of a system must be installed or, at the very least, configured by the user.
On top of this, some distros like Gentoo let you configure the sources of the software you install before their package managers go away to compile and install them for you. This even includes the kernel, which is a pre-requisite to even booting from disk the system for the first time! I’ve talked about Gentoo and how unforgiving it can be to the uninitiated in the past, so I won’t be adding too much about it here. Slackware works in a way similar to this, where the installation process involves defining the layout of the disk partitions, adjusting the size of the installation by selecting package sets to include, configuring the bootloader and various other settings before booting into it.
Alas, the deed is far from being done when you manage to boot into a stable, working system. Now is the time to worry about drivers (nouveau or Nvidia’s proprietary blob? AMD open source drivers or perhaps some generic Intel Mesa libraries?), sound (ALSA or PulseAudio?), graphical desktop environments ─or the lack thereof─ and many other tools you never know you need until they’re taken from you. To give an example, in a fresh install of Arch, USB devices won’t be mounted automatically unless you use a desktop environment that installs a udev helper daemon like udevil for you.
In Slackware, for example, software installation is commonly done from source or by downloading pre-compiled binaries which we can install via installpkg or pkgtool. There are modern package managers for Slackware, such as slackpkg, but their repositories are not as vast as APT or RPM, so most of the time you will have to fetch the packages (and their dependencies) yourself.
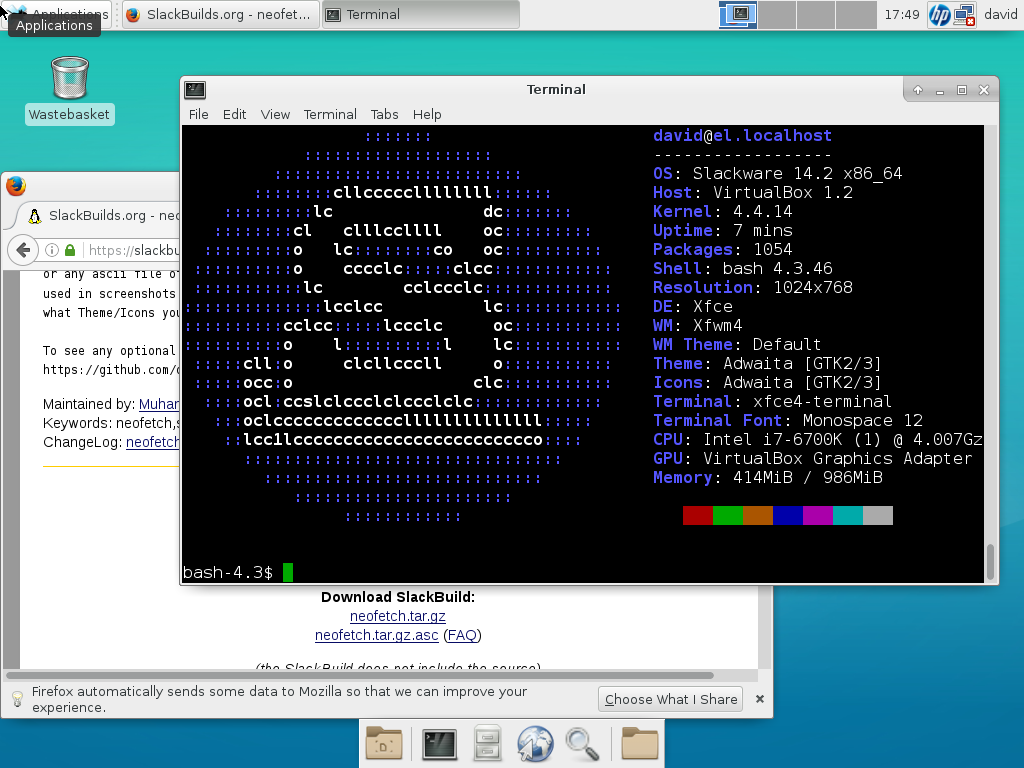
 Xfce4 on Slackware 64 14.2
This relentless and uncompromising culture has bred a community of knowledgeable people which have helped produce some of the best sources of Linux documentation you could find on the Internet today, like the Arch Linux and the Gentoo wikis.
Usage of documentation to solve problems with little or no help, filesystem installation and configuration, installing packages from source or overall service administration (systemd, sysvinit, etc.) will be in your curriculum after successfully installing and using Linux at this level. You’re encouraged to look under the hood of your computer and learn to identify its inner structure, way underneath the plastic, colourful landscape painted by your stacks of windows, menus, panes, dialogues and cute flat design icons.
Back to Square 0
Recommended… distro? Linux From Scratch
So we now know how to install and set up Linux step by step. We’re well aware of what a desktop environment is, what is the purpose of service managers like OpenRC or systemd, we can comfortably find and build software applications not included in the repositories of our favourite distro… You’ve riced the hell out of it, installed and customised Sway so that you can use a decent tiled window manager on your Wayland session or, perhaps even run everything straight from a login shell, because using a graphical environment is for noobs. You’re now running Zsh on urxvt or Sakura and launch ranger or The Midnight Commander to browse your library of cat pictures stored in your atomic, COW Btrfs-formatted drive. You’ve built up a rather healthy collection of complicated dotfiles and system setup shell scripts hosted on a public git repository for everyone to marvel. What’s left to learn then? Well, turns out we can go even deeper than this.
Linux From Scratch is a project that aims to introduce people to building their own Linux distribution from the ground up. And I mean, literally from the ground up, as all you’ll be given is a bunch of FTP URLs and a handbook to go through. The book will then instruct you to fetch from these URLs every single component that constitutes a functional GNU/Linux system. Then you’ll patch, configure, build it and finally install it.
Moreover, you’ll configure and build your system employing tools which you will also need to compile… with tools you should have compiled yourself beforehand! The C libraries, a compiler and the plethora of helper tools that accompany it, a shell, an init, filesystem and network binaries, data compression libs, man pages, IPC message buses, a bootloader and of course, the kernel itself!
In all fairness, the LFS handbook is very well written and the authors took great pain to ensure people don’t feel left in the dark when something goes wrong. But even still, Linux From Scratch is not an easy endeavour and it does require patience and attention to detail, as the most subtle mistake, especially early on in the process, can send you on a hellish path of frustration and stupor.
What could you stand to gain from making your own GNU/Linux from scratch? Everything! Every little package, daemon and binary, every flag passed to the kernel, every language your compiler supports, every extra feature you could build Vim with… From here on out, you should feel comfortable learning as much as you want from any component in your system, no matter how obscure it appears, and you’ll be less afraid to fix it or replace it if it breaks apart. And more importantly, you build enough confidence to adjust your system to your liking every step of the way.
If you’ve made it this far, you’re now free to choose whichever distribution strikes your fancy, knowing full well that no distribution, no matter how minimal or “advanced” in its ways, will be an impediment to you. Perhaps you could build your own custom distribution instead. You’ve proved you’d be more than capable to take that path.
Whatever you decide, do not forget how you got here and what you learnt in every junction, what every mistake or radical design decision taught you about being fully in charge of your own computing experience. I hope you enjoyed yourself!